- Reduce your GitHub Actions bill by 10x
- Native x64 and arm64 Linux runners
- Full compatibility with GitHub Actions
- Open source, if you choose to manage Ubicloud VMs yourself
1
Sign up and sign in
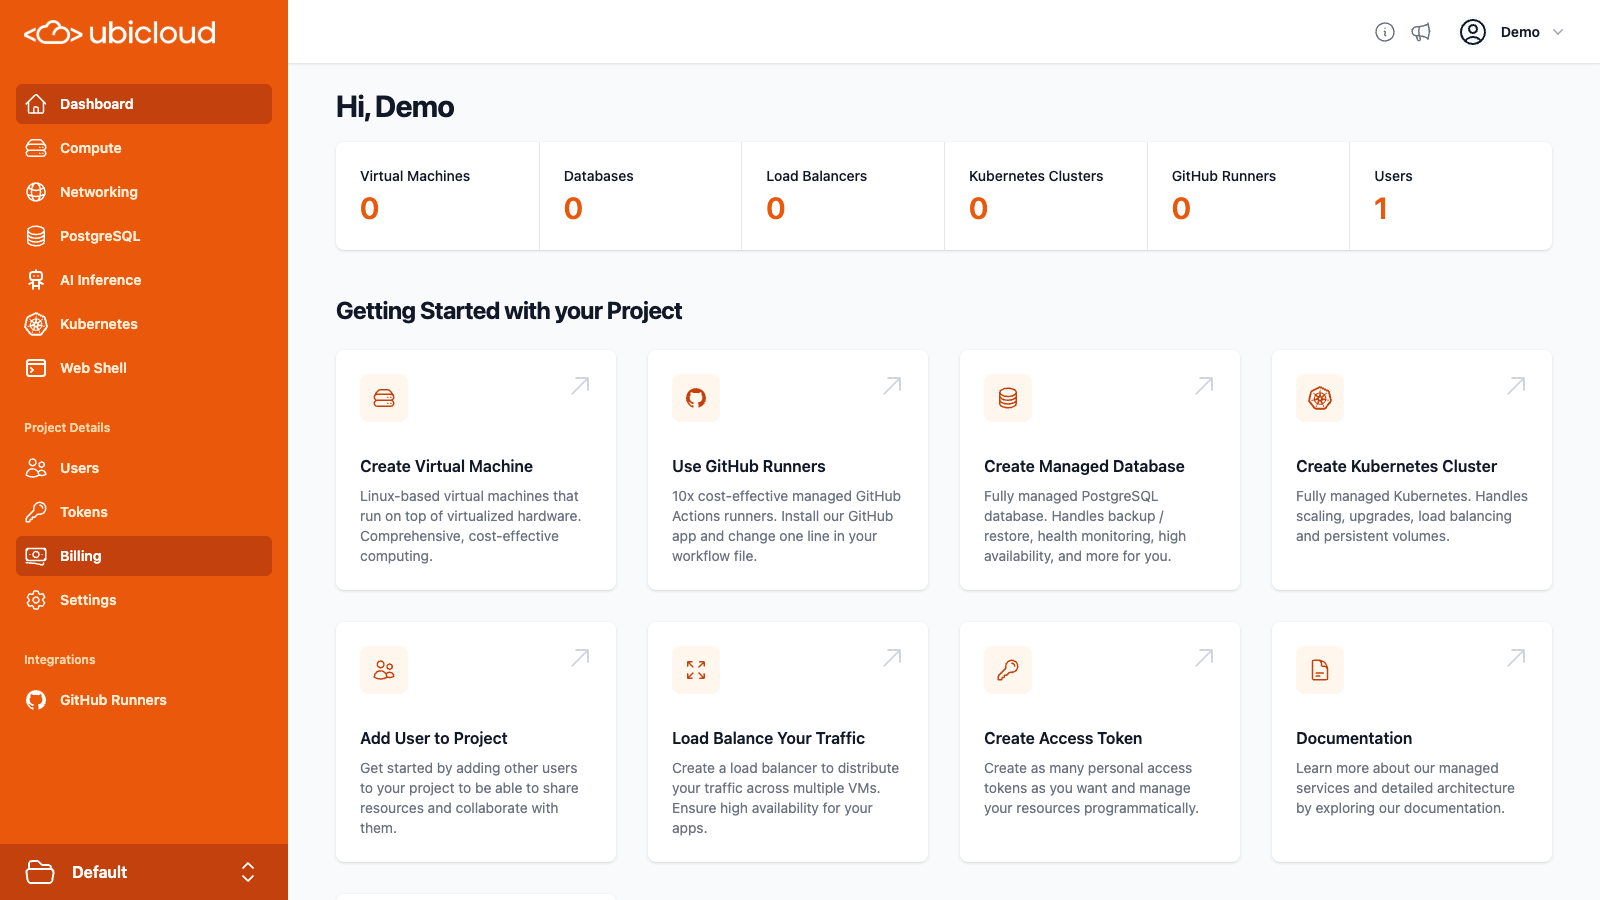
The first time you use Ubicloud, you’ll need to create a new account. Once you do that and sign in, you’ll be directed to Ubicloud’s home page.
2
Enter billing details
Ubicloud requires an active, valid credit card on file before you can create resources. This is primarily a means to prevent abuse and to ensure that we can collect payment at the end of the month.Ubicloud also provides a billing credit of $1/month for an account. This means you’ll get 1,250 free minutes of GitHub runner credits each month.From the navigation menu on the left, choose Billing. Then, enter your credit card information.

3
Integrate with GitHub
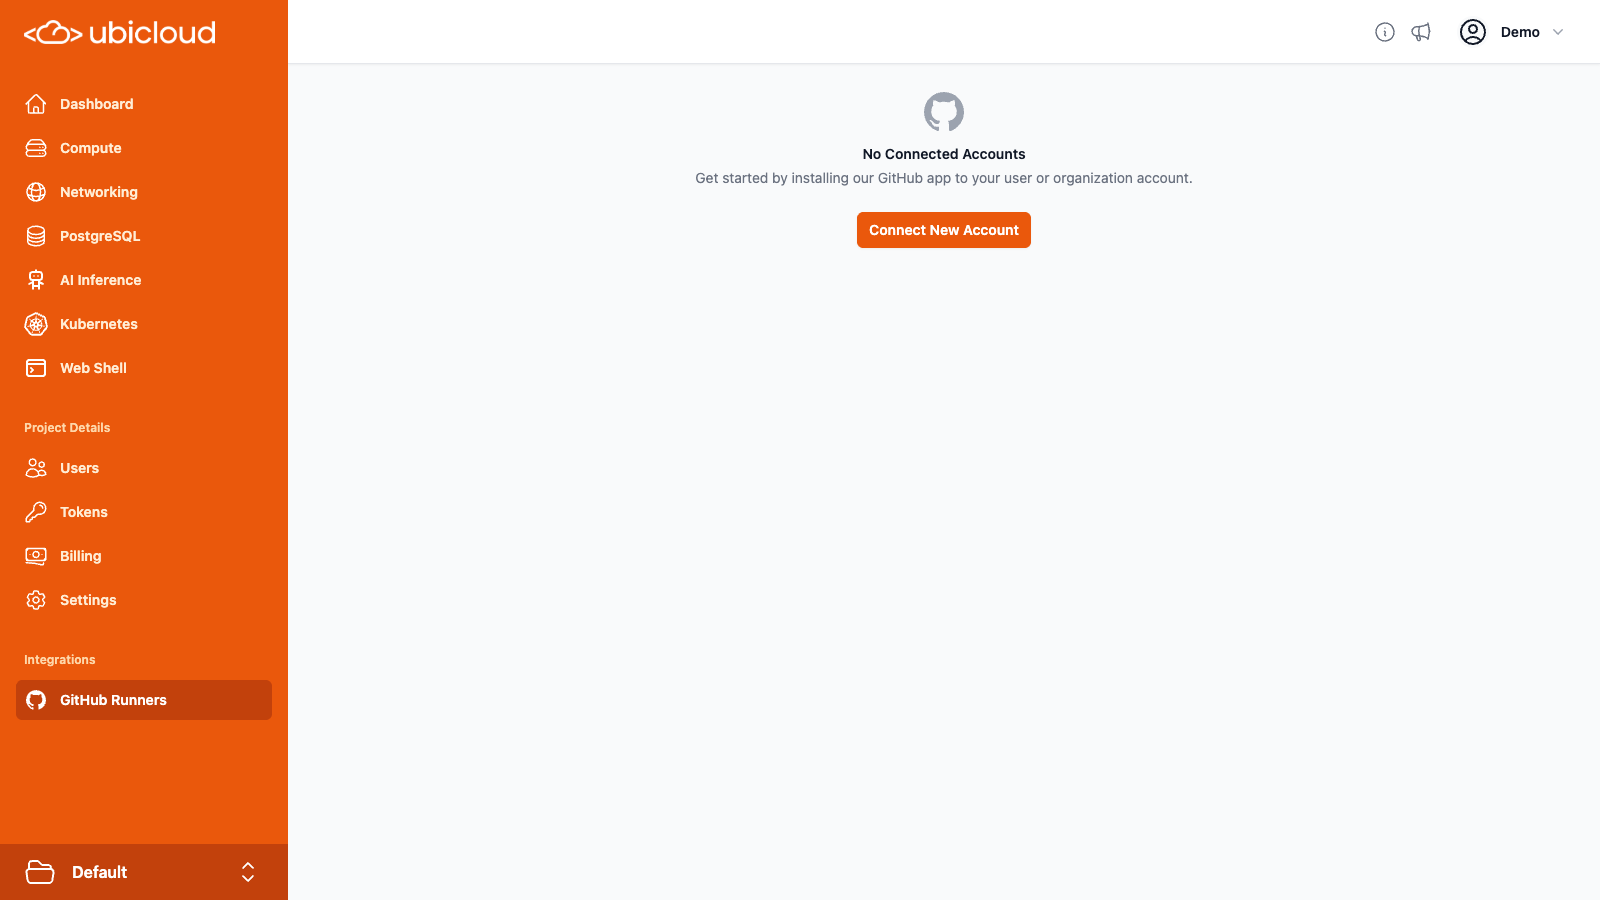
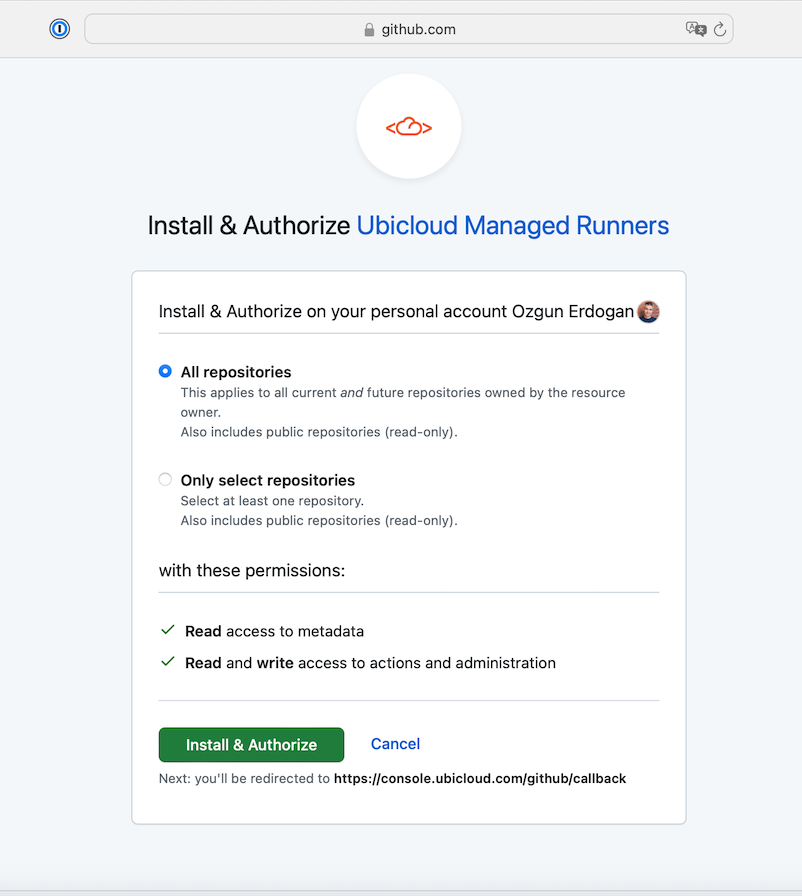
On the navigation menu, choose GitHub Runners. Then, click on Connect New Account on the right. This will take you to GitHub.


4
Change your `workflow.yml` file
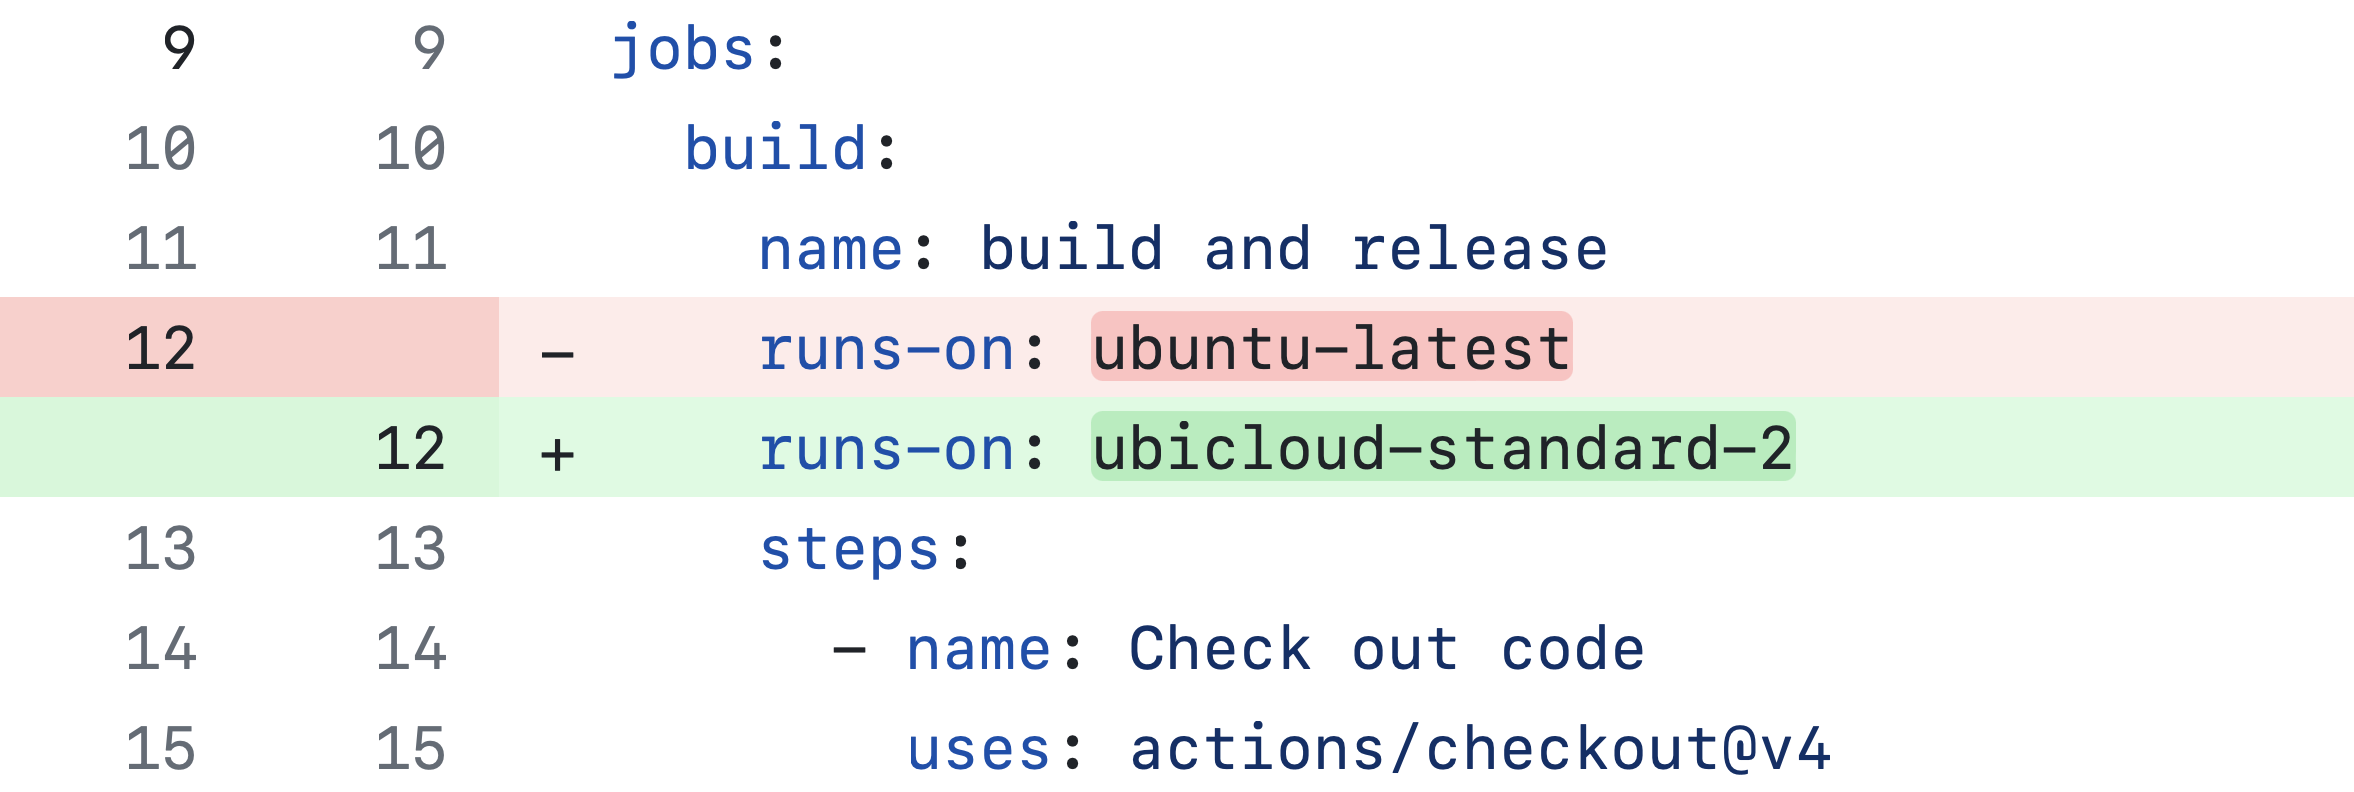
To use Ubicloud for GitHub Actions, you need to edit your 
.github/workflows file. In particular, you need to change the ubuntu-latest runner label to ubicloud-standard-2.
ubicloud-standard-2 starts a VM with the same vCPU and memory configuration as paid GitHub runners. Given Ubicloud’s 10x price advantage, you might want to pick a more powerful VM such as ubicloud-standard-8 and see if your pipelines move faster. You can find the full list of runners and their prices in the Pricing documents.Summary: In this guide, you created a Ubicloud account and integrated that account with your GitHub Account. You then changed a single line in your workflow file to use Ubicloud runners.This resulted in 10x lower prices and faster CI/CD, with Ubicloud’s source code openly available under the AGPL license.